


PU Heat Transfer Vinyl: Release vs. Adhesive Backing – Which is Better?
PU heat transfer vinyl is a favorite for customizing apparel, thanks to its soft feel and versatility. But when choosing PU heat transfer vinyl, one key decision is the type of backing: release backing or adhesive backing. Each has unique traits that make it better for specific projects, tools, or skill levels. Understanding the difference between release backing and adhesive backing in PU heat transfer vinyl helps you pick the right one for smooth, successful results. Let’s break down how they work, their pros and cons, and which is best for your needs.
What is Release Backing in PU Heat Transfer Vinyl?
Release backing is the most common type of backing for PU heat transfer vinyl. It consists of a thin, non-sticky paper or plastic layer attached to the back of the vinyl. This layer “releases” (peels away) after the vinyl is cut, weeded, and applied to fabric using heat and pressure.
How it works:
- When you cut the design, the release backing holds the vinyl in place, making weeding (removing excess vinyl) easier.
- After weeding, you place the vinyl (with the release backing still on) onto the fabric.
- Heat from an iron or heat press activates the vinyl’s built-in adhesive, bonding it to the fabric.
- Once cooled, you peel off the release backing, leaving the design on the fabric.
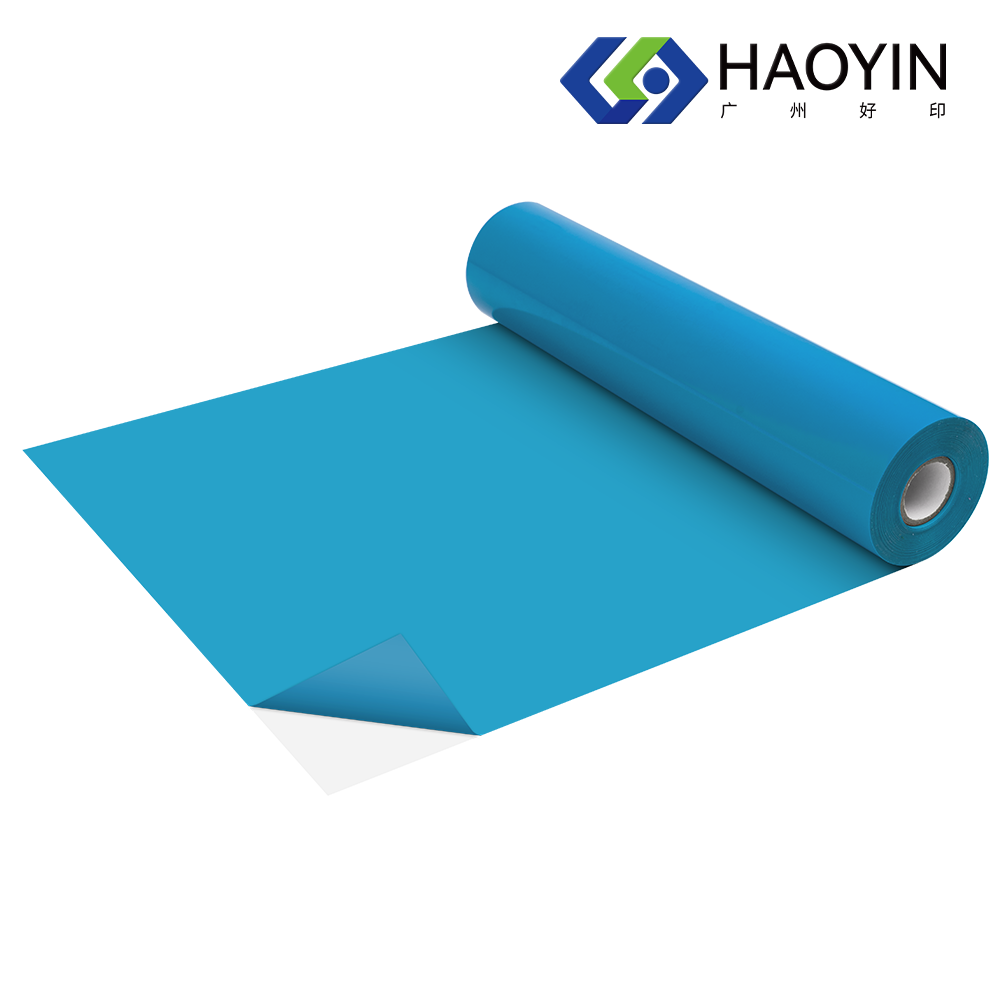
What is Adhesive Backing in PU Heat Transfer Vinyl?
Adhesive backing (sometimes called “sticky backing”) has a pre-applied, pressure-sensitive adhesive on the back of the PU heat transfer vinyl. Unlike release backing, this adhesive is slightly sticky to the touch, even without heat. It’s designed to hold the vinyl in place on fabric before applying heat, reducing the risk of shifting during transfer.
How it works:
- After cutting and weeding, you peel off a protective liner (similar to a sticker) to expose the adhesive.
- The sticky backing lets you position the vinyl on the fabric and press it lightly to hold it in place—no need to rush before heat application.
- Heat from an iron or press then activates the adhesive fully, creating a strong bond with the fabric.
- There’s no additional backing to peel off after heating; the design stays firmly in place once cooled.
Key Differences: Release Backing vs. Adhesive Backing in PU Heat Transfer Vinyl
To decide which is better, let’s compare their core features:
1. Ease of Positioning
- Release backing: The vinyl isn’t sticky before heating, so it can shift on the fabric if you’re not careful. You need to position it quickly and hold it steady while applying heat (especially with an iron). This can be tricky for large or detailed designs.
- Adhesive backing: The sticky layer holds the vinyl firmly in place once positioned. You can adjust the design slightly before heating, and it won’t slide around. This is a big help for beginners or anyone working with complex designs.
2. Weeding and Cutting
- Release backing: The non-sticky backing makes weeding easier, especially for small or intricate designs. Excess vinyl peels away cleanly without sticking to the backing or the design itself.
- Adhesive backing: The sticky layer can make weeding more challenging. Small pieces of excess vinyl might stick to the design or the backing, requiring extra care to avoid tearing. Sharp tools (like weeding hooks) are more important here.
3. Compatibility with Fabrics
- Release backing: Works well with most fabrics, including cotton, polyester, and blends. The heat-activated adhesive bonds strongly without damaging delicate fabrics (like lightweight jersey) when used at the right temperature.
- Adhesive backing: Also works with common fabrics but may leave a slight residue on very delicate materials (like silk) if not heated properly. It’s better for sturdier fabrics (like cotton or thick polyester) where a strong initial hold is helpful.
4. Durability of the Bond
- Release backing: The heat-activated adhesive creates a strong, long-lasting bond when applied correctly. It holds up well to washing and wear, lasting 20–30 washes with proper care.
- Adhesive backing: The pressure-sensitive adhesive, when heated, forms a bond that’s just as durable as release backing. It’s resistant to peeling and fading, making it suitable for everyday apparel.
5. Best for Beginners vs. Pros
- Release backing: Better for experienced users who can position designs quickly. Its easy weeding makes it ideal for detailed projects, even if positioning takes practice.
- Adhesive backing: A great choice for beginners. The sticky backing reduces mistakes from shifting, making it more forgiving for those still learning to align designs.
6. Cost and Availability
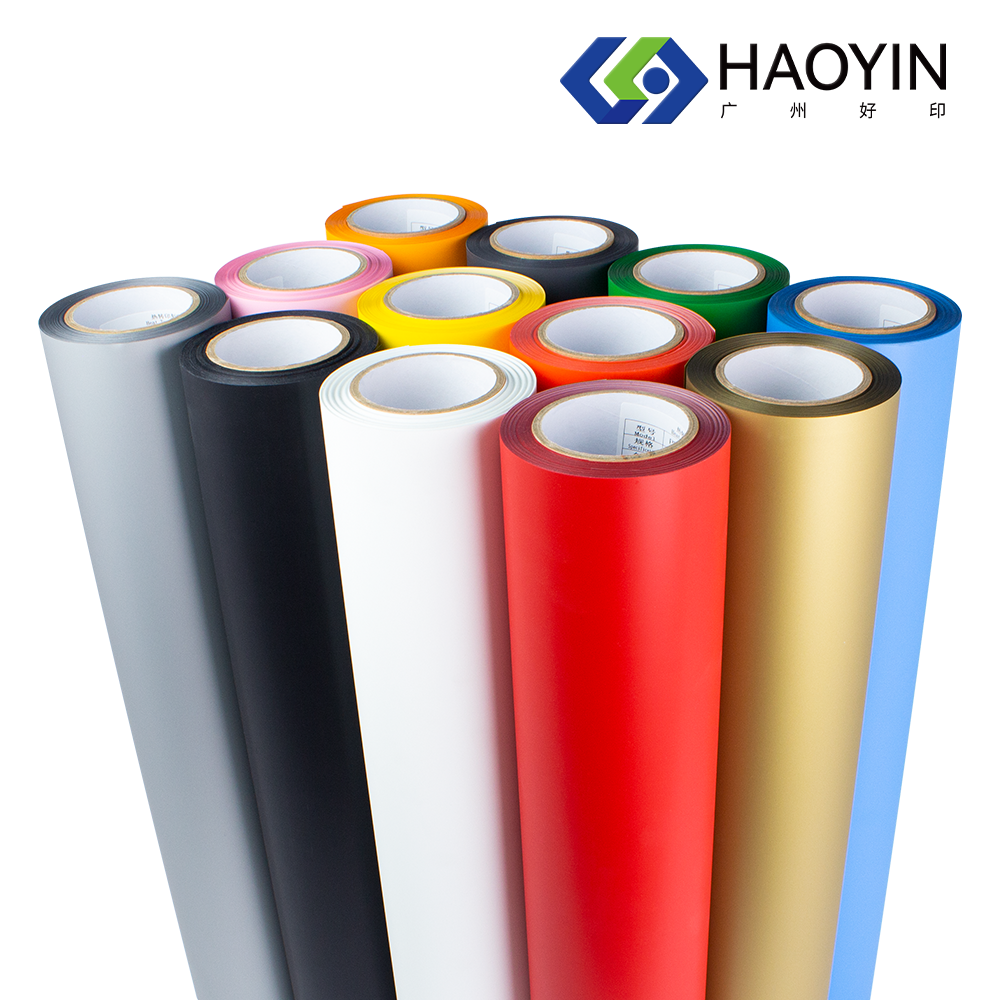
- Release backing: More widely available and often slightly cheaper than adhesive backing. It’s the standard option, so most brands offer a wide range of colors and finishes (matte, glossy, etc.).
- Adhesive backing: Less common and sometimes pricier due to the extra adhesive layer. It’s available in basic colors but may have fewer finish options (e.g., fewer metallic or textured varieties).
Which Should You Choose?
-
Choose release backing PU heat transfer vinyl if:
- You’re working on detailed designs (small letters, intricate patterns) that need easy weeding.
- You’re experienced with heat transfer and can position designs quickly.
- You need a wide range of colors or finishes (like matte or metallic).
- You’re working with delicate fabrics (like lightweight cotton or linen).
-
Choose adhesive backing PU heat transfer vinyl if:
- You’re new to heat transfer and want help keeping designs in place.
- You’re working on large designs or shapes that are hard to hold steady.
- You prefer the convenience of adjusting the design before heating.
- You’re using sturdier fabrics (like thick cotton or polyester blends).
Tips for Success with Both Backings
- For release backing: Use tape (low-tack painter’s tape) to hold the vinyl in place before heating if you’re worried about shifting.
- For adhesive backing: Let the vinyl sit on the fabric for 30 seconds after positioning (before heating) to let the sticky layer “grab” better.
- Heat settings matter: Both types work best with 300–320°F (149–160°C) for 10–15 seconds. Too much heat can melt the vinyl; too little can weaken the bond.
FAQ
Is adhesive backing PU heat transfer vinyl more durable than release backing?
No, both create similarly strong bonds when applied correctly. Durability depends more on fabric type and washing care than backing type.
Can beginners use release backing PU heat transfer vinyl?
Yes, but it takes practice to position designs without shifting. Using tape to hold the vinyl can help new users.
Does adhesive backing leave a sticky residue on fabric?
No, when heated properly, the adhesive bonds fully to the fabric and doesn’t leave residue. Avoid overheating, which can cause excess stickiness.
Which backing is better for multi-color designs?
Release backing is better. Its easy weeding makes layering multiple colors simpler, and it’s less likely to stick to other layers during application.
Can I use adhesive backing PU heat transfer vinyl with an iron?
Yes. The sticky backing helps hold the design in place, making it easier to apply with an iron (which is less stable than a heat press).
Is release backing PU heat transfer vinyl easier to find?
Yes, it’s the standard option, so most craft stores and online retailers carry a wide selection of colors and finishes.
Do both backings work with stretchy fabrics?
Yes, as long as you choose flexible PU heat transfer vinyl (labeled “stretchable”). Both backings work with stretchy fabrics like cotton-poly blends.
Table of Contents
- PU Heat Transfer Vinyl: Release vs. Adhesive Backing – Which is Better?
- What is Release Backing in PU Heat Transfer Vinyl?
- What is Adhesive Backing in PU Heat Transfer Vinyl?
- Key Differences: Release Backing vs. Adhesive Backing in PU Heat Transfer Vinyl
- Which Should You Choose?
- Tips for Success with Both Backings
-
FAQ
- Is adhesive backing PU heat transfer vinyl more durable than release backing?
- Can beginners use release backing PU heat transfer vinyl?
- Does adhesive backing leave a sticky residue on fabric?
- Which backing is better for multi-color designs?
- Can I use adhesive backing PU heat transfer vinyl with an iron?
- Is release backing PU heat transfer vinyl easier to find?
- Do both backings work with stretchy fabrics?