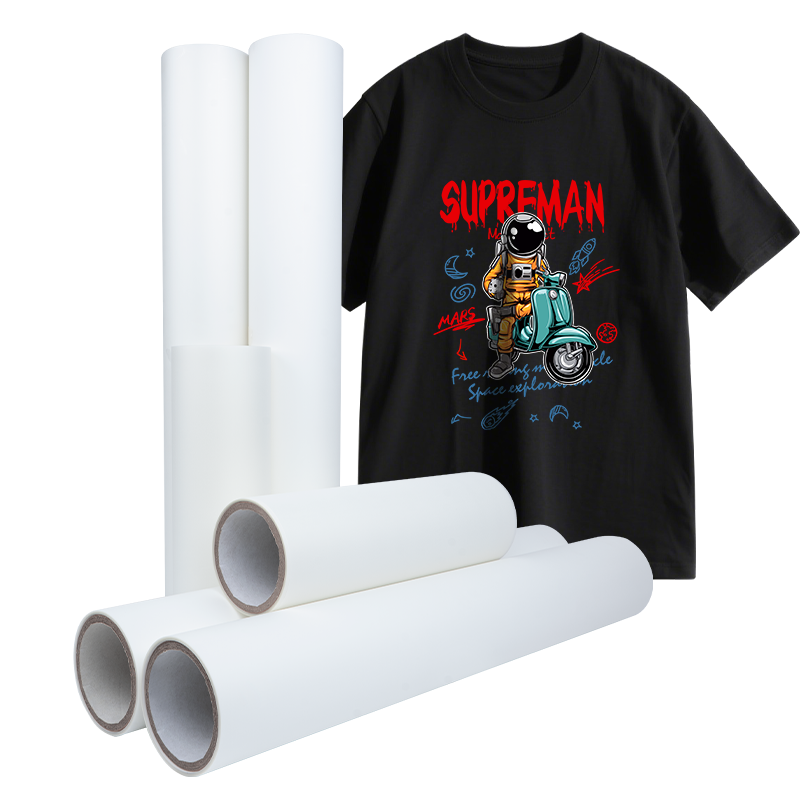
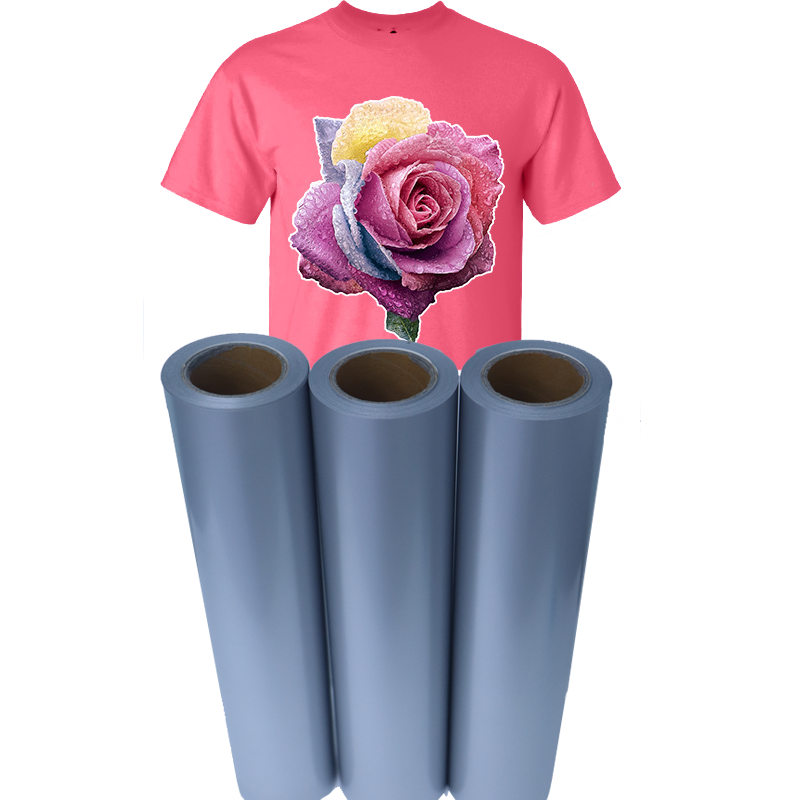
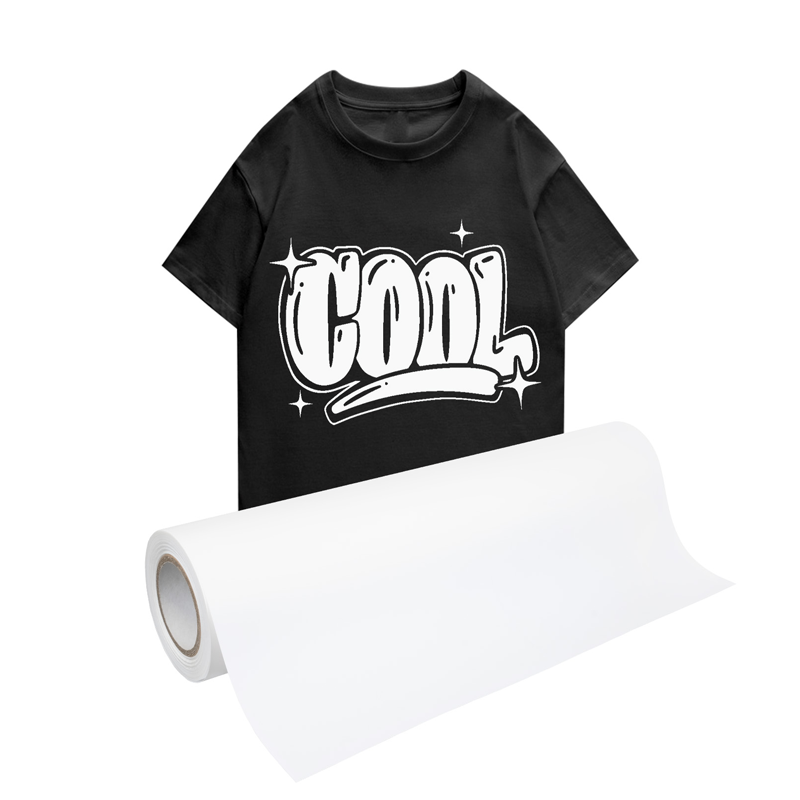
Using flocked vinyl (also known as flocked heat transfer vinyl) allows you to add soft, velvety-textured designs to garments and fabrics. It’s ideal for customizing T-shirts, hats, tote bags, and more.
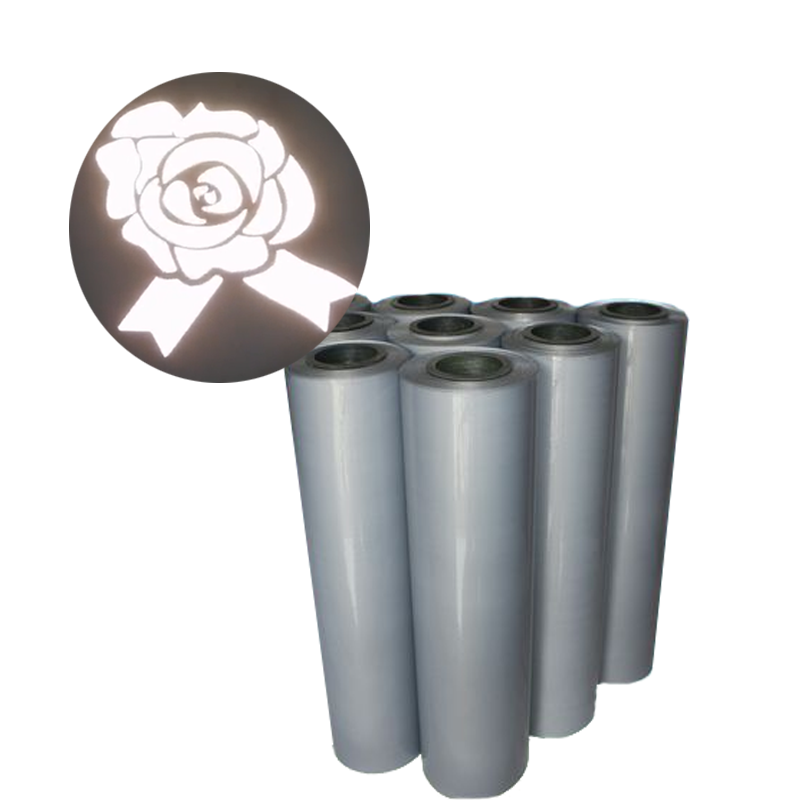
Flocked heat transfer vinyl (HTV)
Heat press (recommended) or household iron
Fabric/garment (cotton, polyester, or blends)
Cutting machine (e.g., Cricut, Silhouette)
Weeding tool
Teflon sheet or parchment paper (optional)
Place the vinyl facedown (with the fuzzy/textured side down) on your cutting mat, so the adhesive/backing side faces up.
Mirror your design in the software before cutting.
Use higher pressure or a deeper cut setting, as flocked vinyl is thicker than regular PU vinyl.
📌 Tip: Choose “Flock” or “Thick Material” setting in your cutter, and test to ensure it cuts through the adhesive layer but not the clear carrier.
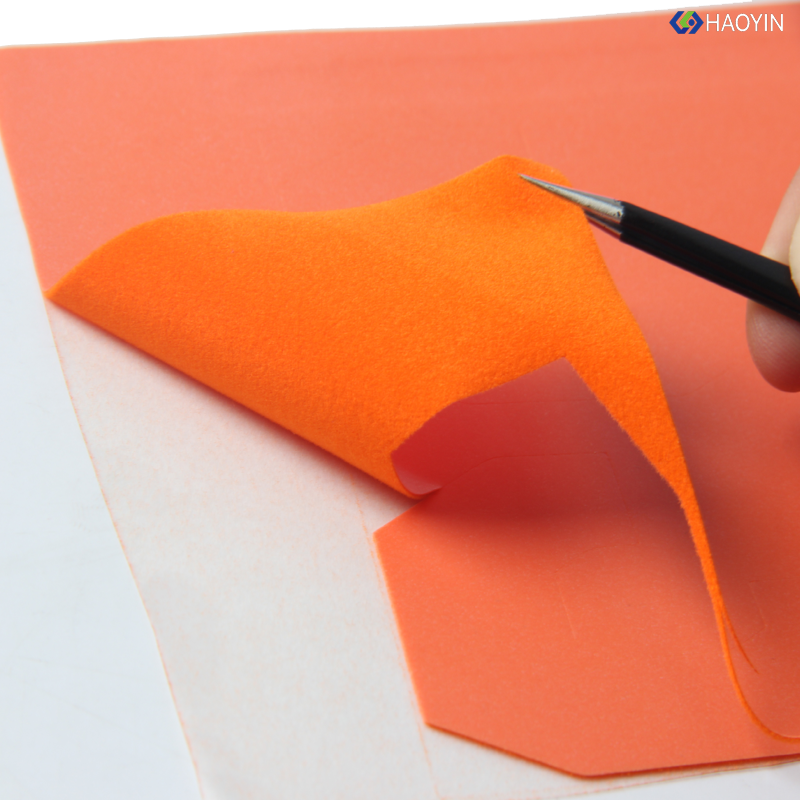
Use a weeding tool to carefully remove the excess vinyl.
Be gentle to avoid pulling up thin or delicate parts of your design.
Lay your fabric flat on the heat press or ironing board.
Preheat for 3–5 seconds to remove moisture and wrinkles.
| Equipment | Temperature | Time | Pressure |
|---|---|---|---|
| Heat Press | 155–165°C (310–330°F) | 12–15 sec | Medium to High |
| Iron | High/Cotton setting | 15–20 sec per area | Firm pressure |
Place the flocked vinyl design onto the fabric (with the clear carrier sheet facing up).
Cover with a Teflon sheet or parchment paper if desired.
Apply even pressure.
Most flocked vinyl is a warm peel.
Wait a few seconds after pressing, then peel off the clear carrier.
If parts lift up, cover again and repress for a few seconds.
Wait 24 hours before washing.
Wash garments inside out with cold water on a gentle cycle.
Do not bleach or dry clean.
Avoid high heat in the dryer.
| Problem | Cause | Solution |
|---|---|---|
| Edges lifting | Insufficient heat/pressure | Repress with more heat/pressure |
| Design lifts when peeling | Peeled too early or low pressure | Wait longer, increase pressure and try again |
| Poor cutting | Blade pressure too low | Increase blade pressure or use a new blade |
 Hot News
2026-03-19
2025-11-20
2025-11-13
2025-11-06
2025-10-30
2025-10-23

Discover high-quality heat transfer materials from Guangzhou Haoyin New Material Technology. With over 29 years of experience, our 100,000 sqm factory offers top-notch products like Heat Transfer Vinyl, DTF, and PET Release Film. ISO 9001 & ISO 14001 certified. Visit us today!
Unit 309, No. 9, Shenzhou Road, Huangpu District, Guangzhou, Guangdong, China
Copyright © 2026 Guangzhou Haoyin New Material Technology Co., Ltd. All rights reserved. Privacy Policy