

When it comes to heat transfer vinyl, few materials demand as much precision during application as glitter htv. The sparkle and texture that make glitter htv so visually compelling are the same properties that make it technically demanding to apply correctly. Pressure is one of the most consequential variables in the entire application process, yet it is frequently overlooked or misunderstood by crafters and professional decorators alike. Getting the pressure wrong — whether too light or too heavy — can result in poor adhesion, incomplete transfer, or even damage to the garment or the vinyl itself.
Understanding the relationship between application pressure and adhesion quality is essential if you want durable, professional-looking results every time you work with glitter htv. This article explores the science and practice behind optimal pressure settings, how different substrates and equipment affect your approach, and what you can do to consistently achieve the best possible bond. Whether you are using a home heat press or a commercial machine, the guidance here applies directly to getting the most from your glitter htv projects.
Why Pressure Matters More with Glitter HTV Than Standard Vinyl
The Texture Factor in Glitter HTV
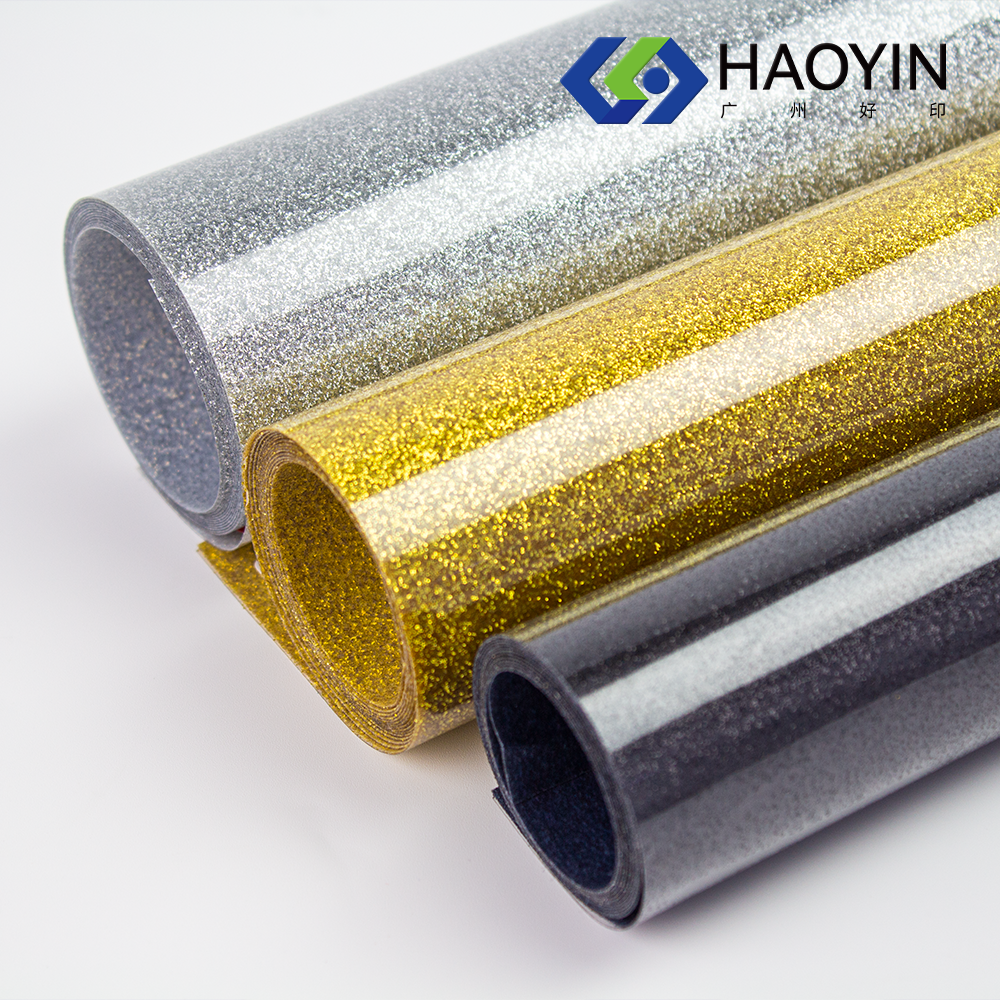
Standard smooth heat transfer vinyl relies on a relatively flat adhesive surface making full contact with the fabric during pressing. Glitter htv, by contrast, has a textured, particle-embedded surface that creates micro-gaps between the adhesive layer and the substrate. These tiny gaps can prevent the heat-activated adhesive from fully bonding unless sufficient downward pressure is applied to compress those particles against the fabric fibers.
This compression requirement means that the pressure settings that work well for smooth PU vinyl will almost always be insufficient for glitter htv. The glitter particles themselves need to be pushed firmly enough into the carrier layer and adhesive to allow maximum surface contact. If this compression does not occur, the adhesive cures without fully bonding, leading to peeling, lifting edges, or sections of the design that simply fall away after washing.
The practical implication is straightforward: when you switch from standard vinyl to glitter htv, you need to consciously increase your pressure setting, not just replicate your usual workflow. Many adhesion failures in glitter htv applications trace directly back to this single oversight. Treating glitter htv like any other vinyl is one of the most common and avoidable mistakes in the craft and professional decoration industries.
Adhesive Layer Behavior Under Compression
The adhesive used in most glitter htv formulations is a thermoplastic compound that softens and flows under heat, then cures as it cools. Pressure during the heating phase forces this softened adhesive to flow around and between the fabric fibers, creating a mechanical bond in addition to the chemical one. Without adequate pressure, the adhesive sits on top of the fiber structure rather than penetrating it, which produces a superficial bond that degrades quickly with washing and wearing.
Higher pressure encourages deeper adhesive penetration into woven and knitted fabrics, which is why glitter htv tends to perform better on tightly woven materials when proper pressure is applied. Looser weaves can also accept good adhesion, but the pressure calibration becomes even more important because the fabric structure offers less natural resistance to spread the adhesive evenly. Understanding how the adhesive behaves mechanically helps decorators make smarter decisions about their pressure settings for different substrate types.
Recommended Pressure Ranges for Glitter HTV Applications
Heat Press Machine Pressure Settings
For commercial and semi-commercial heat press machines, the general recommendation for glitter htv adhesion is a medium-to-firm pressure setting, typically described as 40 to 60 PSI depending on the machine's calibration system. Many modern heat presses use a numerical dial rather than PSI measurements, in which case a setting of 5 to 7 on a scale of 1 to 10 is usually appropriate. However, these numbers are starting points — the actual optimal pressure will vary based on the specific glitter htv product, the thickness of the fabric, and the machine's platen condition.
A reliable field test is the paper resistance method: place a sheet of paper inside the press and close it without heat. The paper should resist being pulled out but not be impossible to remove. For glitter htv, you want the resistance to be on the firmer side of this range, indicating that the platen is generating enough force to compress the glitter particles properly. Many professional decorators run a slightly higher pressure for glitter htv than they would for smooth vinyl as a standard operating procedure.
It is also worth noting that different brands and constructions of glitter htv may require slightly different pressure settings. Thicker glitter layers, larger glitter particles, or specialty coatings can all shift the ideal pressure upward. Always run a test press on a scrap piece or sample garment when working with a new batch of glitter htv, especially if you are producing a high-volume order where adhesion failures would be costly.
Household Iron Pressure Considerations
Applying glitter htv with a household iron is more challenging because irons do not apply consistent, measurable pressure across the entire design area. The pressure is entirely dependent on how hard the user pushes down, and human variation makes this inconsistent. For best results with a household iron and glitter htv, firm and deliberate downward pressure should be applied rather than a gentle ironing motion. The iron should be held stationary over each section of the design rather than moved back and forth.
Working in small sections and pressing each section for the full recommended time with consistent manual pressure is the best approach when a heat press is not available. A hard, non-padded ironing surface also helps because it maximizes the pressure transferred to the glitter htv layer rather than absorbing it into a soft pad. Silicone pressing pads or Teflon sheets beneath the garment can improve heat distribution but should not replace firm manual pressure application.
How Substrate Type Affects Optimal Pressure for Glitter HTV
Cotton and Cotton-Blend Fabrics
Cotton is generally the most forgiving substrate for glitter htv adhesion because its natural fiber structure and heat tolerance allow for the full range of pressure and temperature needed to achieve a strong bond. On 100% cotton, medium-firm pressure combined with the correct temperature — typically 305°F to 320°F (150°C to 160°C) — produces excellent adhesion results. The fibers readily accept adhesive penetration, and the fabric's resilience means it can withstand the compression required without damage.
Cotton-blend fabrics, particularly those with polyester content, require slightly more care. The polyester fibers are more heat-sensitive, which may tempt applicators to reduce temperature, but reducing temperature while maintaining pressure can leave the adhesive under-cured. The better approach is to maintain the correct temperature for the glitter htv while using a Teflon sheet or parchment paper to protect the fabric surface, allowing the pressure and heat combination to remain within the optimal range for adhesion.
Synthetic and Performance Fabrics
Applying glitter htv to synthetic performance fabrics such as athletic polyester or nylon introduces challenges because these materials have lower heat tolerances. Excessive pressure on thin synthetic fabrics can cause distortion, glazing, or press marks even at lower temperatures. The recommended approach is to use a slightly lower temperature — sometimes as low as 270°F to 290°F (130°C to 143°C) — and compensate with a slightly longer press time while maintaining medium pressure rather than firm pressure.
For stretch performance fabrics, a pressing pillow or sleeve board inside the garment helps maintain even pressure across the design without flattening the fabric structure. The goal is uniform pressure distribution rather than maximum force. Glitter htv designed for performance apparel often has a more flexible adhesive formulation that bonds at lower temperatures, so always check the manufacturer's specifications for the specific glitter htv product you are using before making pressure adjustments on sensitive substrates.
Bags and Non-Garment Substrates
Glitter htv is increasingly used on bags, tote carriers, and craft substrates made from canvas, polyester canvas, or even some coated materials. These surfaces often require a pressure calibration that accounts for thickness variation — a canvas tote with double-stitched seams will create uneven platen contact if not positioned carefully. Pressing pillows or foam pads placed inside the bag help create an even pressing surface, allowing consistent pressure across the full design area.
Hard surfaces sometimes used in crafts — such as wood veneer transfer or certain coated cardstock substrates — are not typically compatible with glitter htv because they cannot absorb adhesive through fiber penetration. For these non-fabric applications, pressure must be exceptionally even and temperature precisely controlled to avoid surface damage. Glitter htv adhesion on non-fabric substrates is generally considered lower durability regardless of pressure, as the mechanical bonding mechanism that makes glitter htv so durable on fabric is absent.
Common Pressure-Related Adhesion Problems and How to Fix Them
Peeling Edges and Corner Lifting
Peeling edges after pressing are almost always a symptom of insufficient pressure rather than incorrect temperature. When the pressure is too low, the adhesive at the perimeter of the design — where the platen force is often weakest — does not fully cure into the fabric. This is especially common with glitter htv because the textured surface amplifies the gap between adhesive and fabric at the design edges.
The correction is to re-press the affected areas with increased pressure while ensuring the platen is centered and level over the design. A firm second press using a Teflon sheet to protect the glitter surface will often re-activate the adhesive and correct edge lifting if caught early. If the garment has already been washed, re-pressing may be less effective because washing compromises the adhesive layer in ways that additional pressure cannot fully reverse.
Incomplete or Patchy Transfer
Patchy transfer — where sections of the glitter htv design appear to have bonded while others have not — typically indicates uneven pressure across the platen. This can result from a warped platen, an uneven pressing surface, or positioning issues with thick garments where seams or hems create high spots under the design. Glitter htv is particularly susceptible to this problem because the glitter texture amplifies even minor variations in platen contact.
Diagnosing uneven pressure is done by pressing a silicone pressure check pad or simply observing the pattern of adhesion failure. If failures consistently appear on one side of the design, the platen likely needs leveling. Repositioning garments to avoid placing design areas over thick seams, using pressing pillows to elevate low sections, and regularly checking platen calibration are all preventive measures that significantly improve glitter htv adhesion consistency.
Optimizing Your Process for Consistent Glitter HTV Results
Pre-Pressing the Substrate
One of the most effective preparatory steps for improving glitter htv adhesion is pre-pressing the substrate before applying the vinyl. A 3 to 5 second press with firm pressure and full heat removes moisture from the fabric and relaxes any wrinkles or folds that could create uneven surfaces. This pre-press step ensures that the adhesive in the glitter htv makes contact with a flat, dry surface, which maximizes the quality and evenness of the resulting bond.
Moisture in the fabric is a surprisingly common cause of adhesion problems because it creates steam during pressing, which can interfere with the adhesive curing process. This is particularly relevant in high-humidity environments or when working with freshly laundered garments that have not fully dried. Pre-pressing effectively eliminates this variable, giving the glitter htv the optimal substrate conditions for adhesion regardless of ambient humidity levels.
The Peel Temperature Effect on Adhesion Perception
Many applicators peel the carrier sheet from glitter htv while it is still warm, which can give a misleading impression of adhesion quality. Warm peeling often feels smooth because the adhesive has not yet fully cured. If the pressure was insufficient, the true adhesion failure may not become apparent until the first wash. For most glitter htv products, a cold peel — waiting until the garment has returned to room temperature before removing the carrier — allows the adhesive to fully cure and gives a more accurate assessment of bond quality.
Some glitter htv products are specifically designed for hot or warm peel, and following the manufacturer's guidance is important. However, when troubleshooting adhesion issues, switching to a cold peel is a diagnostic step worth trying, as it eliminates the variable of adhesive movement during carrier removal. Combined with proper pressure settings, cold peeling tends to produce the most consistent and durable results with glitter htv across a wide range of substrates and applications.
FAQ
What is the ideal pressure for applying glitter htv on a standard heat press?
For most heat press machines, a medium-to-firm pressure is recommended for glitter htv, typically around 40 to 60 PSI or a setting of 5 to 7 on a 1-to-10 dial. This level of pressure ensures the glitter particles are compressed firmly enough against the fabric for the adhesive to bond fully. Always run a test press when working with a new glitter htv product or substrate to confirm the optimal setting for your specific equipment.
Can too much pressure damage glitter htv during application?
Excessive pressure can cause the glitter particles to crack, the carrier to stick too aggressively, or the fabric to show press marks — particularly on delicate or thin materials. For standard cotton garments, very high pressure is rarely a problem, but on synthetic fabrics or lightweight materials, extreme pressure can distort the substrate. Finding the balance between sufficient adhesion pressure and fabric safety is key, and a test press on a sample piece is the best way to identify that balance for any new material.
Why does my glitter htv peel after washing even though it looked good after pressing?
Post-wash peeling in glitter htv most commonly results from insufficient pressure during application, which prevents the adhesive from fully penetrating the fabric fibers. Even if the design looks visually complete after pressing, a shallow adhesive bond cannot survive repeated washing. Other contributing factors include pressing at too low a temperature, peeling the carrier while still hot, or applying glitter htv to a damp substrate. Reviewing and increasing your pressure setting is the first corrective step to take when troubleshooting wash-related adhesion failures.
Does glitter htv require different pressure settings than regular smooth HTV?
Yes, glitter htv generally requires slightly higher pressure than smooth HTV because its textured, particle-based surface creates micro-gaps between the adhesive layer and the fabric. These gaps prevent the adhesive from making full contact unless additional compression is applied. Where smooth vinyl might adhere well at medium pressure, glitter htv typically needs medium-firm to firm pressure to achieve the same adhesion quality. This is one of the most important adjustments to make when transitioning between vinyl types in a production workflow.
Table of Contents
- Why Pressure Matters More with Glitter HTV Than Standard Vinyl
- Recommended Pressure Ranges for Glitter HTV Applications
- How Substrate Type Affects Optimal Pressure for Glitter HTV
- Common Pressure-Related Adhesion Problems and How to Fix Them
- Optimizing Your Process for Consistent Glitter HTV Results
-
FAQ
- What is the ideal pressure for applying glitter htv on a standard heat press?
- Can too much pressure damage glitter htv during application?
- Why does my glitter htv peel after washing even though it looked good after pressing?
- Does glitter htv require different pressure settings than regular smooth HTV?